

Installing Gonexa
This first step will guide you through the steps of installing our generation solution.
We are going to go through 4 simple steps to achieve this:
- Install our application via the AppExchange
- Give access to users and to yourself
- Make the generation button available to users
Pré-requis
✓ Avoir les droits d'installation d'un Package sur un environnement ciblé
✓ Avoir un compte sur l'AppExchange
Install the package via the AppExchange
- Click on The following link to access the Gonexa Doc application on the AppExchange, the Salesforce marketplace that allows you to view, download and install our Gonexa Doc application.
- Installez la solution sur l'environnement de votre choix en cliquant sur "Get It Now" ou "Try It"
Cliquez sur "Get It Now" pour une installation en Production
Cliquez sur "Try It" pour une installation en Sandbox et bénéficier des 30 jours d'essai gratuits.
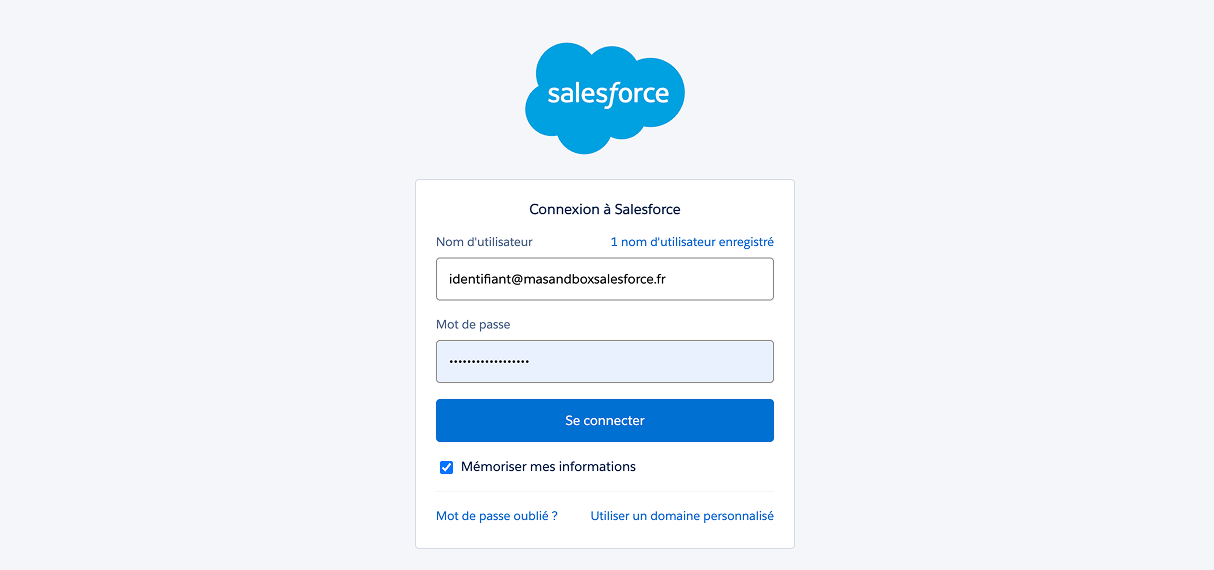
- Choose Salesforce and then enter your credentials
- Select the “Install for Admins Only” option (rights will later be assigned via permission sets)Les droits seront attribués ensuite via les Ensembles d'autorisations)
- Click on “Install”
- Accept the terms and click on “Confirm and Install”
- Connectez-vous à votre Salesforce en cliquant "Log In"
- Click on “Finish to continue.”
L'installation peut prendre quelques minutes. Vous serez averti de son succès par email.
In the Salesforce application launcher, type “Gonexa Doc” to access the global setupVous pouvez vérifier que le Package est bien installé depuis la Configuration, en allant dans l'onglet "Packages installés".
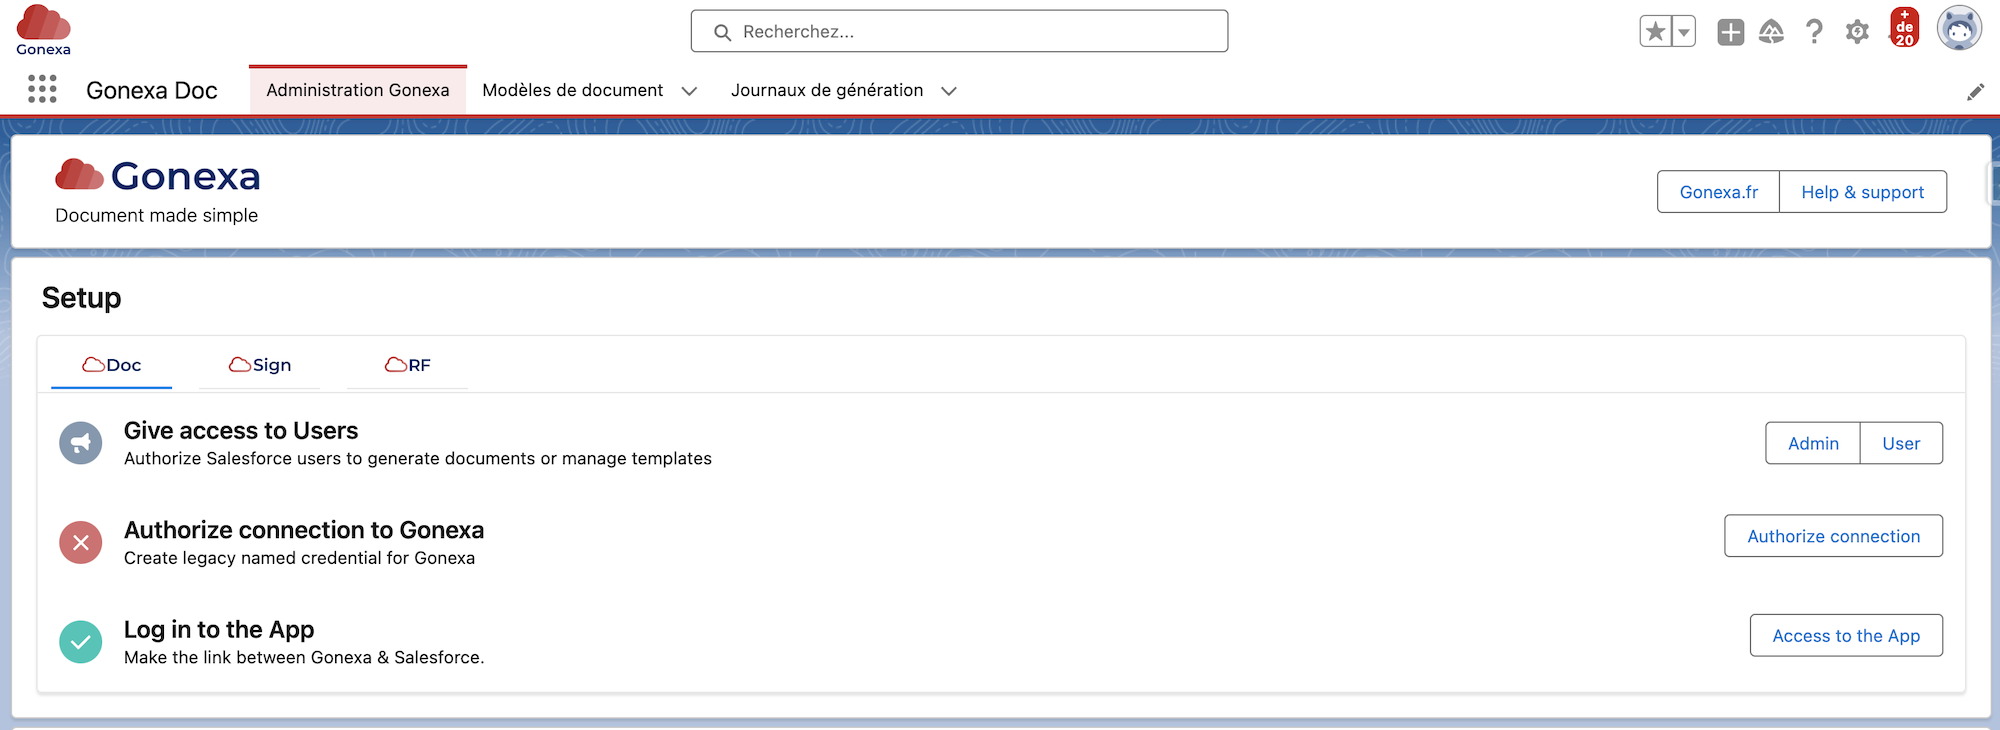
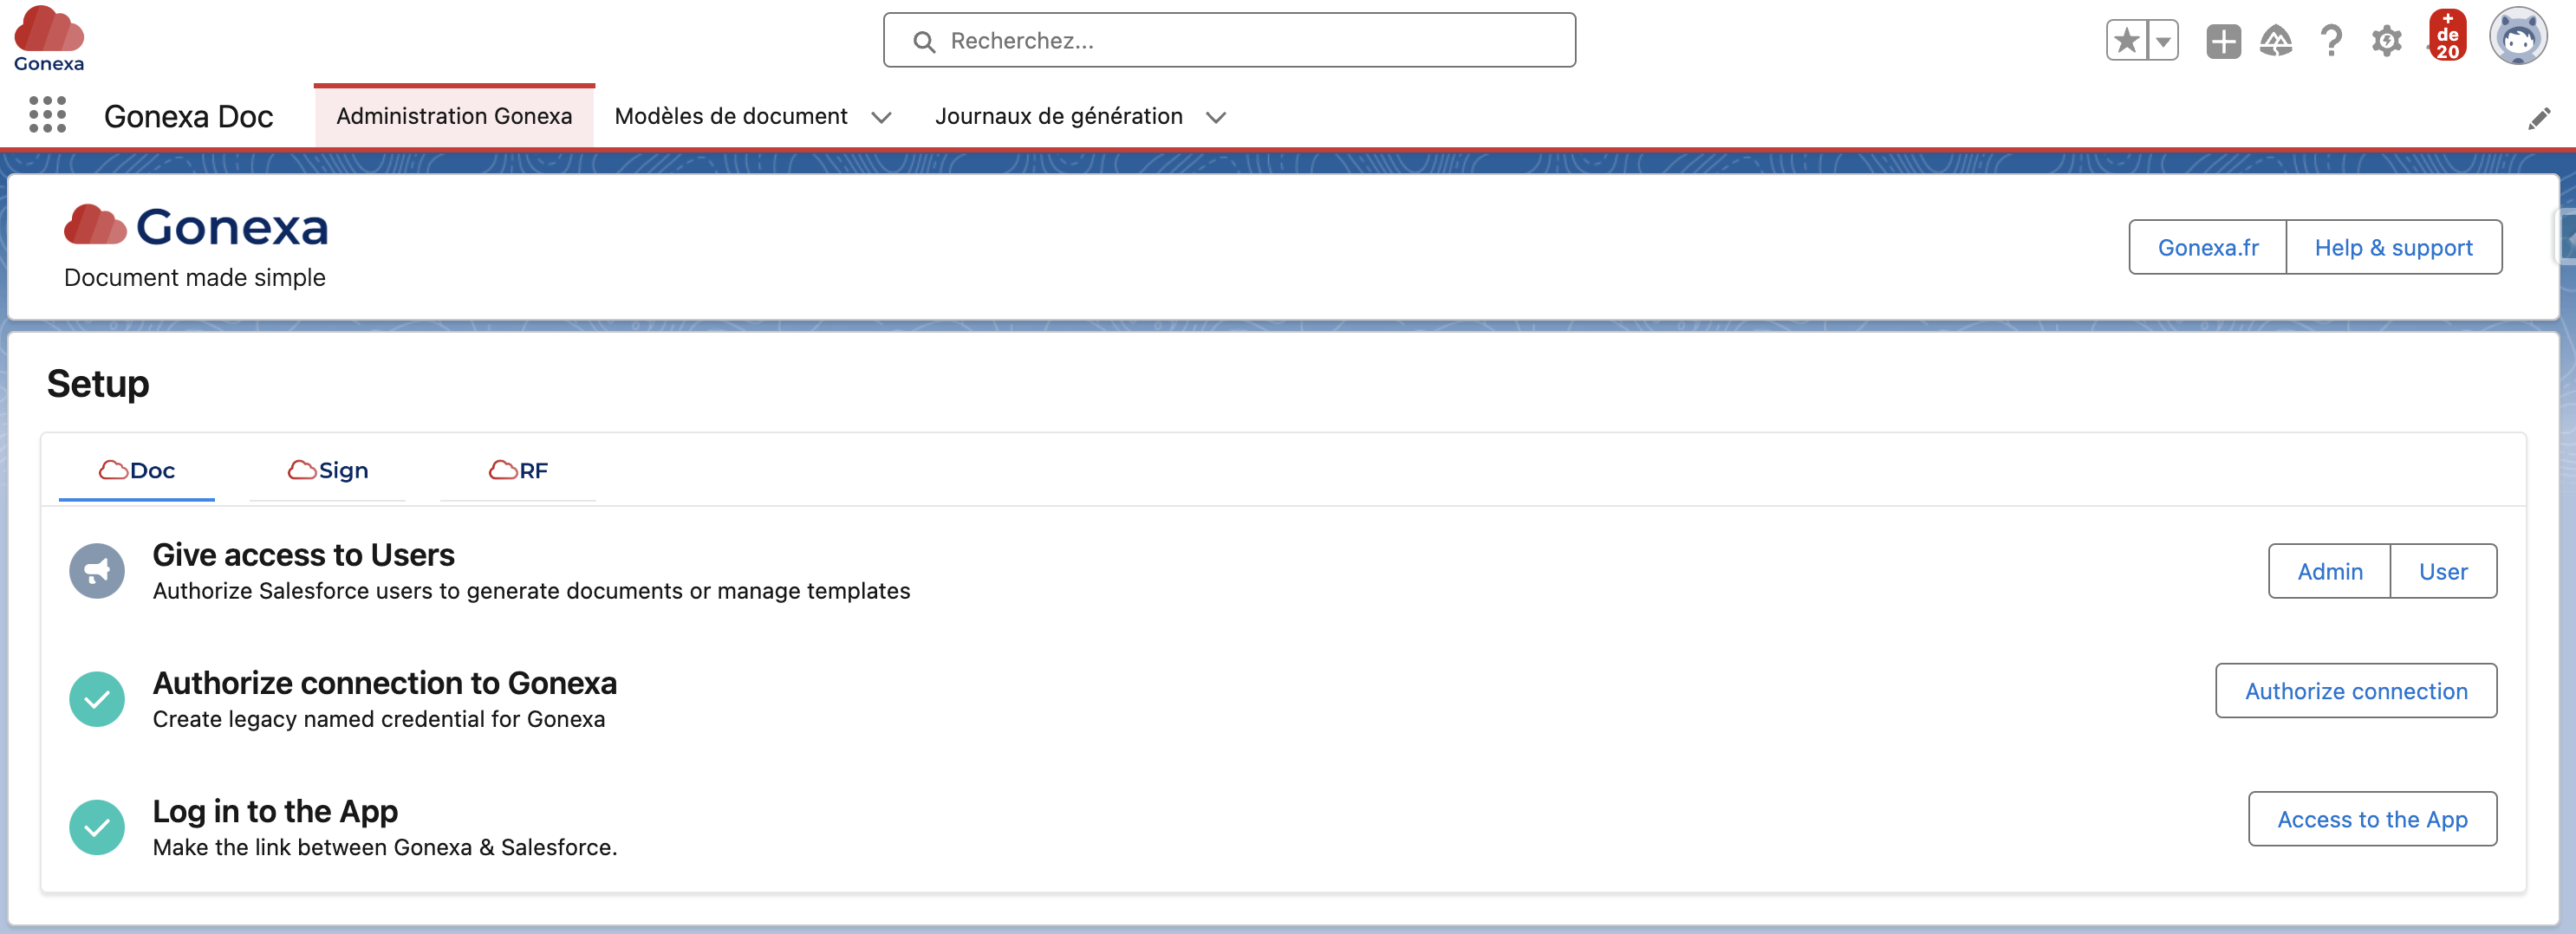
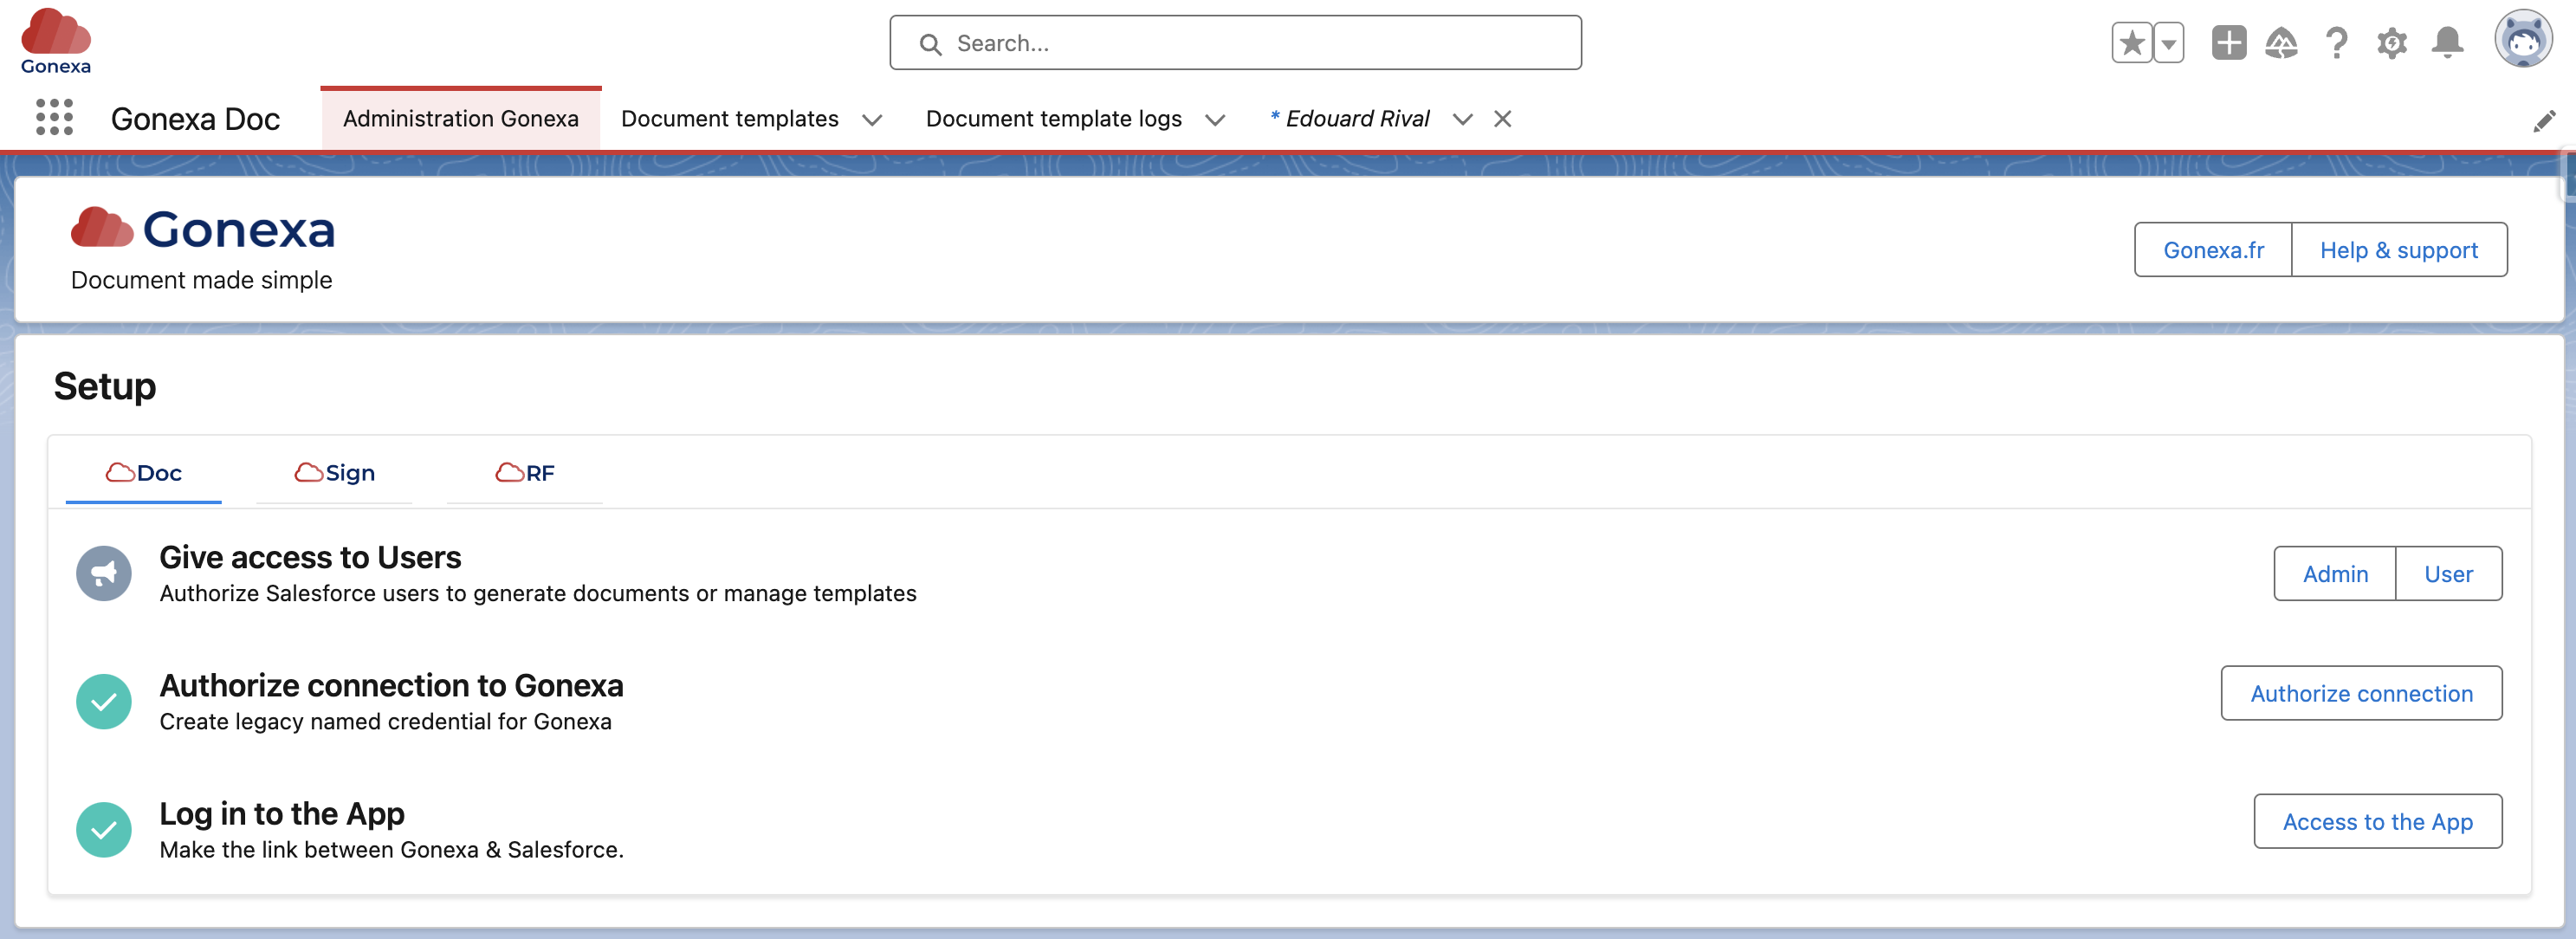
Give access to users and to yourself
Gonexa donne deux niveaux de droits
Le Gonexa Doc User Permission Set, qui offre la possibilité à l'utilisateur de générer un document
Le Gonexa Doc Admin Permission Set, qui offre la possibilité à l'utilisateur de générer un document et d'avoir accès à l'administration des modèles de documents

- Click on “Manage Assignments”
- Depuis la ligne "Donner l'accès aux utilisateurs" cliquez sur "Administrateur" ou "Utilisateur" pour attribuer les bons accès à chacun.

- Puis, cliquez sur "Gérez les attributions" ou "Manage assignements"
- Click on “Add Assignment”
- Select the user and click next to finalize
Pensez à attribuer le Permission Administrateur aux utilisateurs qui vont paramétrer les modèles de documents et à vous même.
Les paramètres de partage sur un objet permettent de savoir qui accède à quelle donnée. Par défaut, le paramètre de partage de l'objet Document Template est en privé, ce qui signifie que certains de vos utilisateurs ne pourront pas y avoir accès et générer des documents.
Changer la visibilité de l'objet en public Lecture Seul [Recommandé]
- In the Salesforce Setup, search for “Sharing Setting”
- Click on edit
- Search for the “Document Template” object
- Change the default internal access to “Public read-only”
Créez des règles de partage selon vos règles métiers.
- In the Salesforce Setup, search for “Sharing Setting”
- Click New in the associated “Sharing Policy” list (further down the page)
- Set the appropriate rules
Créer un compte App
Cette étape est centrale pour vous permettre de générer vos documents mais aussi pour débloquer de nombreuses fonctionnalités. Rendez-vous dans l'article dédié.
- Click on “Log in to the App”
- Click on “Register” for a first connection
Attention
1 Compte App = 1 Org de Production Salesforce
Si vous êtes consultant avec un accès à plusieurs productions, pensez à créer des comptes différents pour chacun de vos clients.
Si vous êtes client, un seul compte App suffit pour gérer votre production et l'ensemble de vos Sandbox.
- Finalize by confirming your email
To finalize the process, click “Connect to Salesforce” by entering your Salesforce login and password.

- Click on “Connect my environments”
- Choose “Production” or “Sandbox” depending on the environment where you want to use Gonexa
Veillez à avoir connecté la Production avant de connecter les Sandbox de votre choix
- Finalize the process by entering your Salesforce login and password
You can confirm that everything is ok by refreshing the administration page to have all the buttons green.

Positionner le bouton de Génération
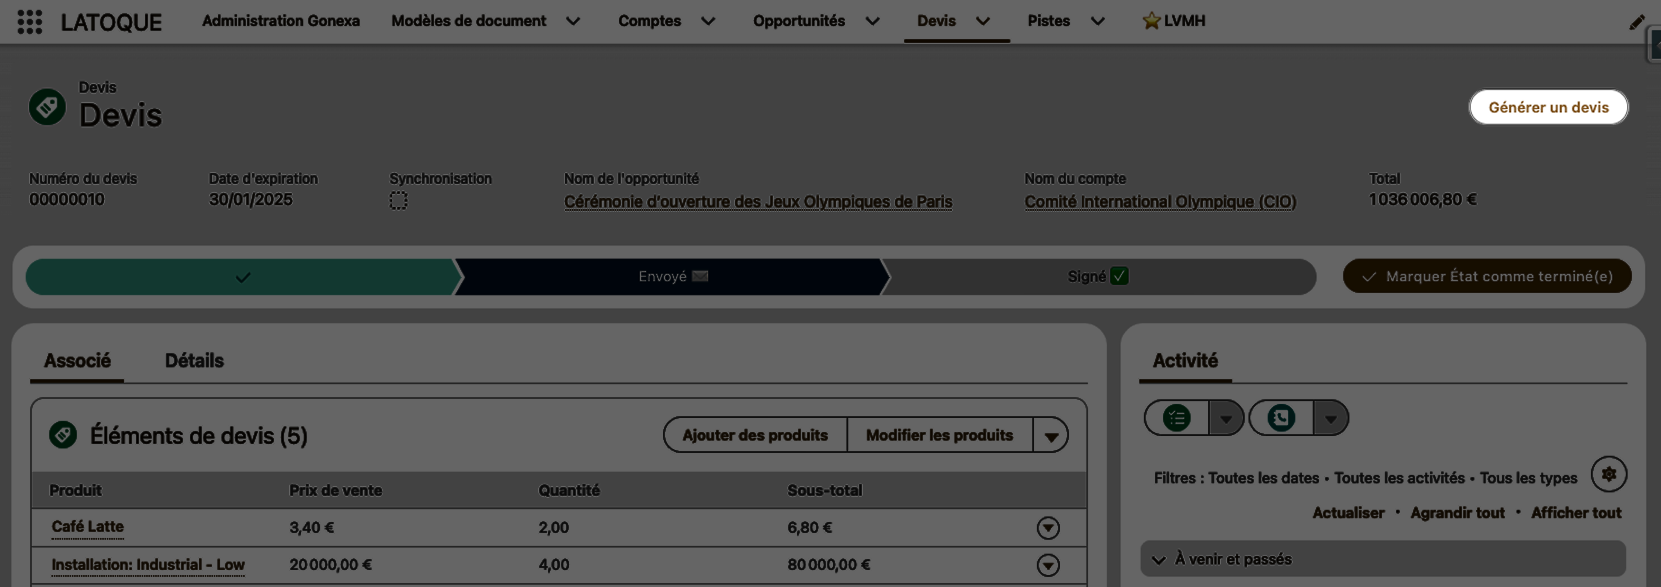
Vous pouvez déclencher la génération de plusieurs manières différentes, au clic ou de manière automatisée. Utilisez le composant lightning Gonexa natif pour générer ou ajoutez un bouton d'Action rapide sur votre page en fonction de l'expérience utilisateur que vous préférez.
Déposez l'action sur la page de l'objet dont vous souhaitez générer les documents comme le devis, l'opportunité, le compte ou n'importe quel objet standard ou custom sur lequel le bouton doit apparaître
- Rendez vous sur le contexte où vous souhaitez voir afficher le composant (opportunité, devis, ...)
- Modifiez la présentation de page lightning en cliquant sur "Modifier la page" en cliquant sur gd
- Cherchez le composant "Gonexa - Generate Document"
- Déposez le composant dans votre page
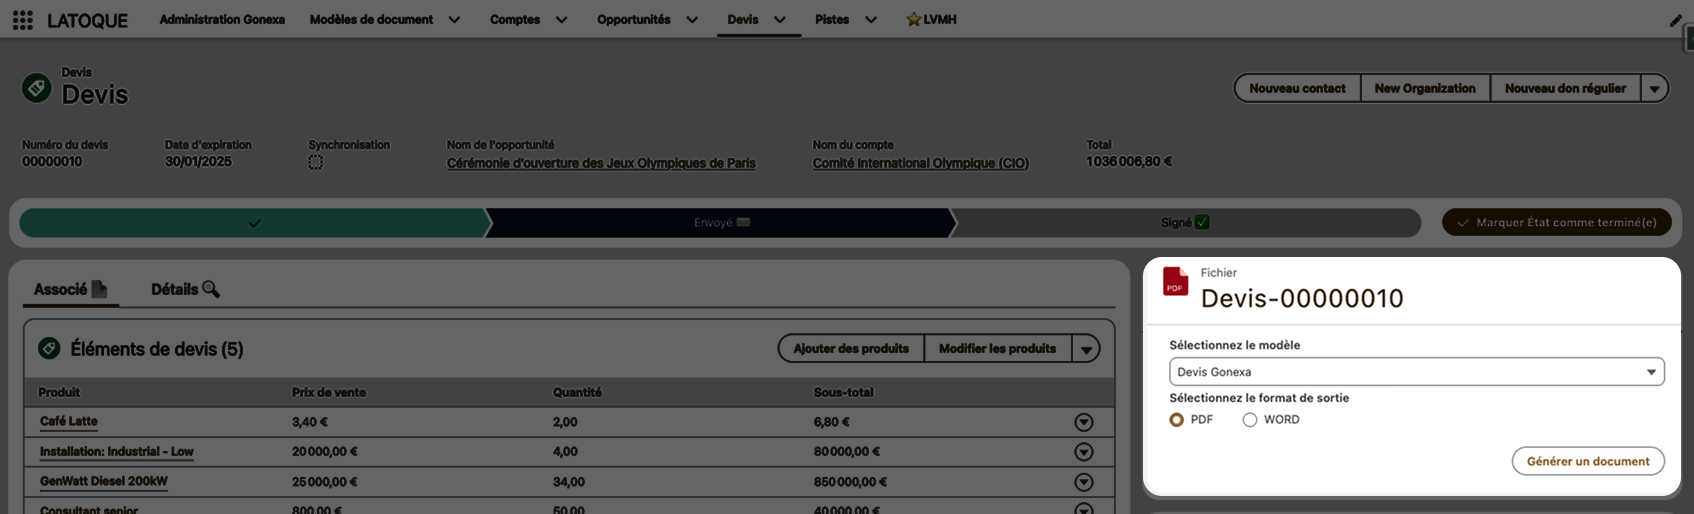
- Enregistrez & activez la page pour les profils ou applications souhaités.
- Rendez vous dans le gestionnaire d'objet ou vous souhaitez voir afficher le bouton de génération
- Cliquez sur la rubrique "Boutons, liens et actions"
- Cliquez sur "Nouvelle action" et renseginez les informations suivantes :
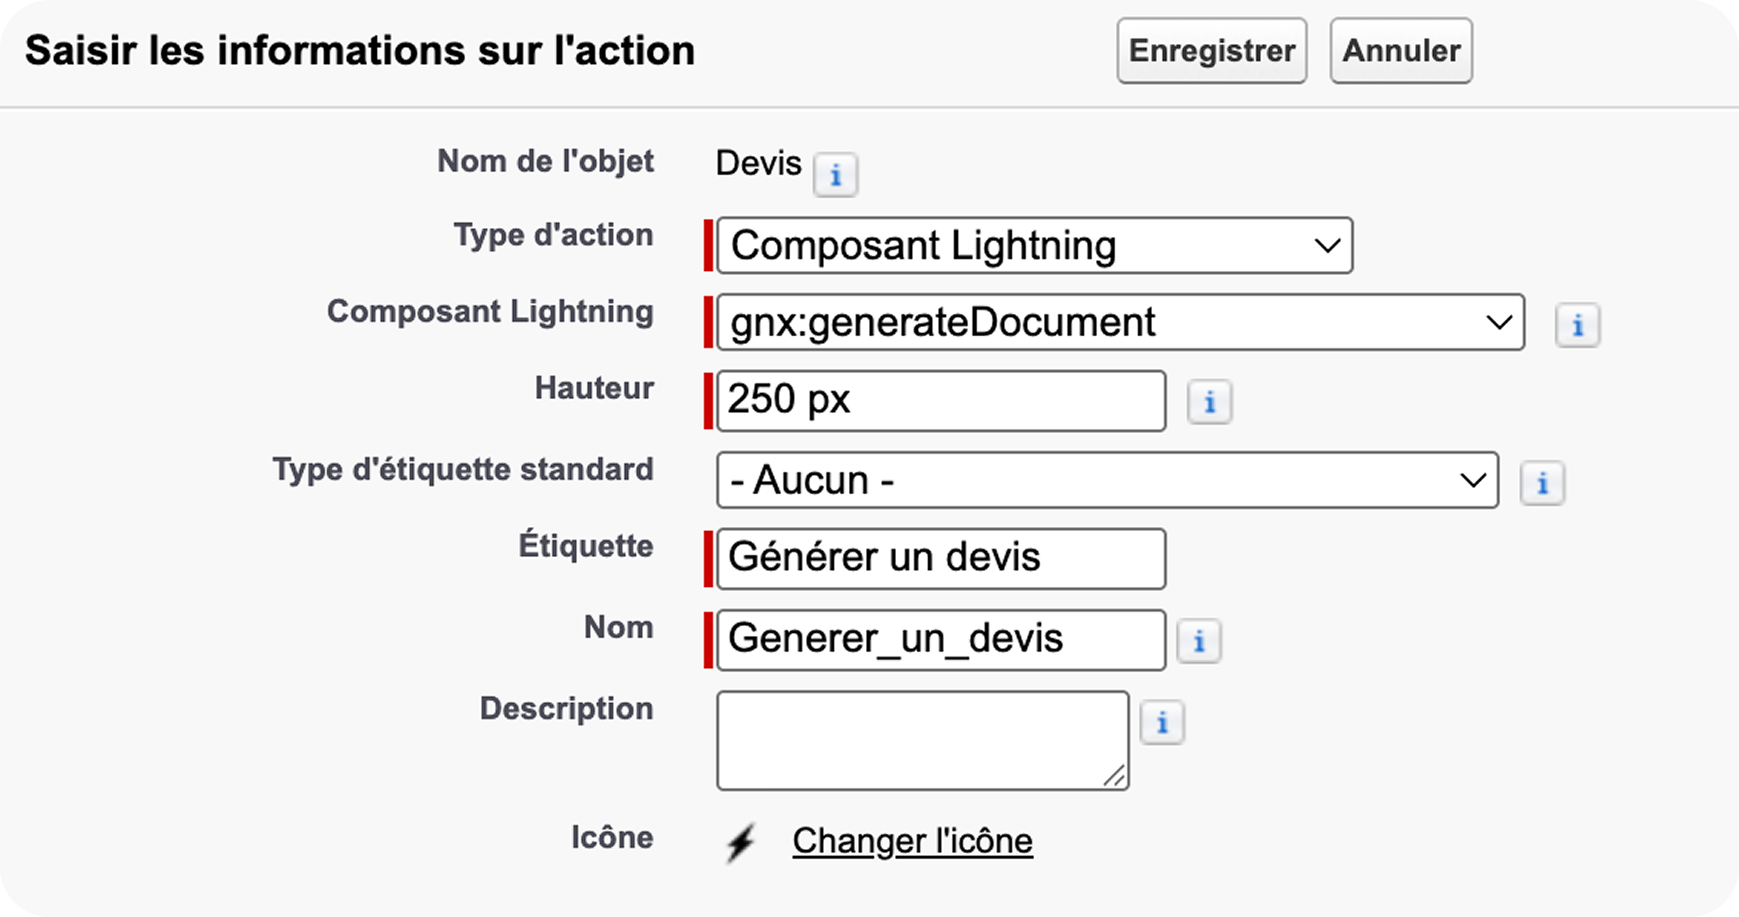
Pour exemple
Vous pouvez choisir comme nom d'étiquette "Générer un Devis" pour que ce soit parlant pour votre utilisateur. Choisissez ici le nom que vous souhaitez. - Déposez ensuite l'action dans la page de présentation souhaitée
Attention
Tant qu'un modèle de document n'a pas été créé, le composant ne sera pas visible sur votre page.
Continuez la formation et créez un modèle de document basé sur l'objet depuis lequel vous avez positionné le bouton.
